Spinning purists beware . . .

Months ago I was spinning some nice wool top and had the realization that my left hand was actually doing very little. Some minor tension, a little adjustment here and there—actually my right hand wasn’t doing that much either, I just had the tension on the wheel set a bit high and I was allowing that tension to draft the top right out of my hand. My mind raced ahead and wondered if it was possible to spin with just one hand. I immediately dismissed the possibility as I’d never heard or seen it mentioned anywhere. Being self-taught, I felt too silly to ask anyone online in the various spinning forums I have poked my head into virtually. I occasionally played around to see if I could spin without using my left hand and would manage a yard or two.

I didn’t really pursue it until several outside influences came together. My spinning godmother, Annie, unexpectedly sent me a book called Spinning for Softness and Speed by Paula Simmons. Within the pages was a section specifically about spinning with one hand! The technique she described was a little different from what I was doing but I was encouraged by the possibility that it could be done at all and her explanation helped my own process along.

The other influence that gave me a sense of purpose was a post on the New England Textile Arts (NETA) forum from one of the members asking about spinning with one hand. While she received many responses, no one had ever seen or tried it before. I reluctantly admitted I had tried it and recommended the above book. Several weeks ago I met Beth, a.k.a yarndemon, at NETA’s annual get-together in Freeport. (Go see Beth’s lace socks knit with one hand!) We had chatted via e-mail but she wanted to see how I was actually doing the spinning so I practiced quite a bit beforehand. We discussed various techniques, wool preparations and experiences pertaining specifically to spinning with one hand. She was encouraged that we were using a similar technique and achieving similar results. I was encouraged that I was able to spin with one hand (or at all for that matter) in front of strangers!

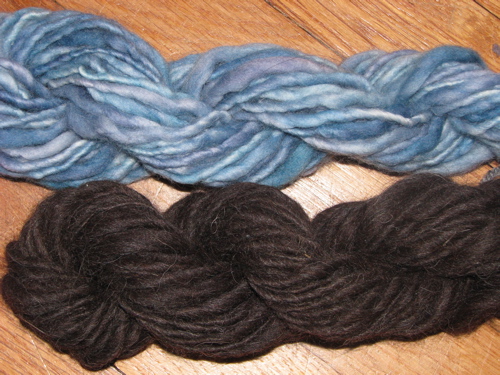
Since my discussion with Beth, I’ve been able to sort out a bit more about what was working and not working for me. I’d had several attempts that looked much worse than my very first spindle spinning. There were long thick barely spun sections and tightly overspun thin sections. What I figured out was that although I was spinning a woolen yarn, the best prep for my one-handed method was actually combed top. (Any purists still reading may now keel over.) I finally managed a soft single out of naturally black merino that was still thick and thin but with just the right amount of spin. In fact, it was not unlike a commercial thick and thin singles yarn from a popular manufacturer. The blue in the photo below is commercial Malabrigo Aquarella and the dark merino is my handspun.

Malabrigo Aquarella thick and thin single and handspun thick and thin black merino

My fourth attempt involved a merino/bamboo/nylon combed top from Spunky Eclectic. I had intended to spin this semi-woolen with two hands to a two-ply fingering or sport weight. It slid so well out of my hand that I decided to try spinning one handed and see if I could get a more even single with a smaller grist. Success! I did not hold myself to spinning the entire 3 ounces one-handed but I’d say at least half of it was spun one-handed. I haven’t wet-finished it but I’m going to guess I’ve managed an airily soft, fairly even sport/DK weight at 230 yards from 3 ounces. While I don’t have a reason to become fully proficient at this technique it has been an interesting experience and I have learned quite a bit about the way I spin from the attempt.

I know that some of you spinners out there are thinking this post is worthless without video. Sorry, while I can spin with just my right hand, my left hand could not manage holding the camera! And I think I’m going to need a wild handpaint to really show what’s going on. So please comment if you’d like to see video.

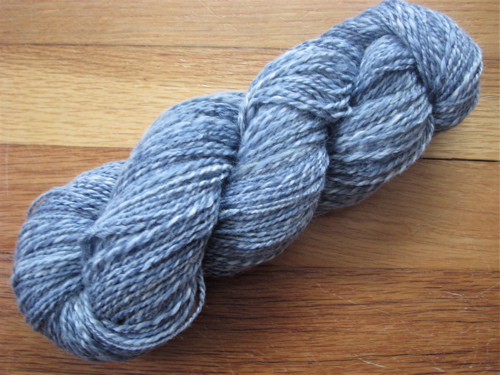
handspun two-ply yarn Spunky Eclectic PANDA blue chip merino bamboo nylon

Tags: ,

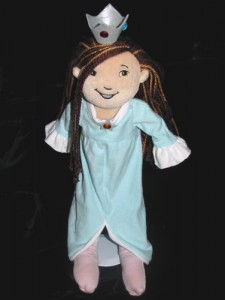
Rosalina is a character from Super Mario Galaxy, a game for the Wii, which builds on the story of the long running Nintendo video game characters—plumber brothers, Mario and Luigi. She is the benevolent caretaker of baby stars called lumas. I previously made a few lumas out of felt for the kids.

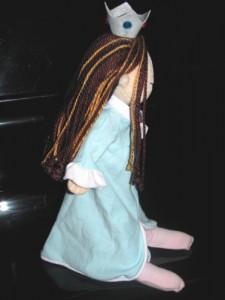
The girl recently requested a Rosalina dress for her Groovy Girl doll, Sarah. Since she plays with Sarah quite a lot, I decided it was worth doing. I had several fabric choices in my stash and could have gone with a dressier velvet that wasn’t quite the right shade of blue or a satin that would have looked good but would have been very difficult to work with on such a small scale. I decided to use an outgrown tee shirt in the right color for ease of sewing and dressing the doll. Since I’ve made a few other dresses for this doll, it wasn’t too hard to draft a pattern that suggests the general look of Rosalina’s dress. I used a thinner white cotton knit for the trim, using the inherent trait of knit fabric to roll over in my favor. It’s a bit rough but I spent about as much time as I’m willing to spend on a doll dress. Done is better than perfect.

Groovy girl soft fabric doll dressed as Rosalina from Super Mario Galaxy hand sewn handmade Rosalina dress Super Mario Galaxy

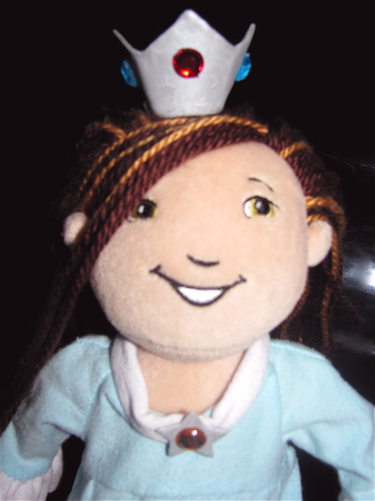
The star brooch and the crown are made from Sculpey molded over a paper skeleton, baked and brushed with silver paint and decorated with plastic jewels. I had intended to make those accessories out of fabric as well but I couldn’t find anything remotely suitable. Hopefully the paper skeleton inside the polymer clay accessories will give them some chance of survival.

hand made Sculpey polymer clay crown and brooch for Rosalina Super Mario Galaxy

Not that I’m particularly a fan myself, but I suppose this could be considered fan art. Or fan craft. Or something like that.

And yes, Sarah has big feet. Maybe I should have made the dress a little longer.

Tags: , , ,

leather doll shoes made by hand Liv fashion doll Barbie Blythe

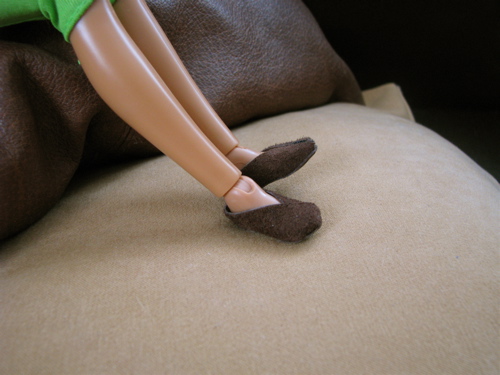
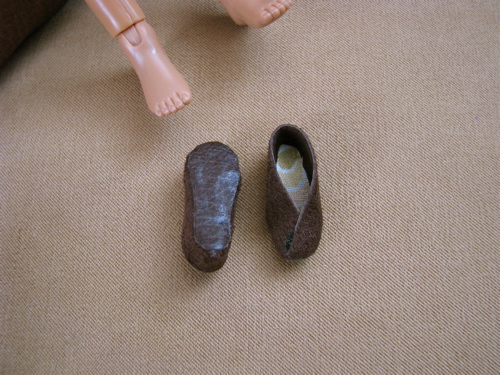
I make shoes. With no cobblering tools or training other than what I’ve been able to find in a few obscure books. That probably qualifies me as insane right there. In the past I have made several pairs of shoes for myself on homemade lasts, and lots of baby shoes. Now I’ve made doll shoes. Actually these aren’t the first doll shoes but these are the first that are actually made of leather and made with fairly traditional shoemaking techniques. I won’t bore you with the details. Alexia, is my daughter’s Liv fashion doll. Along with her rather garish outfit, she arrived with plastic boots. So although I have yet to make her any new clothes, I suddenly decided to make her new shoes today. Her feet are about an inch long, I don’t know exactly because I didn’t measure anything. These were a very simple pair of slip-ons made of thin suede and leather scraps leftover from baby shoes and a tiny scrap of floral cotton for the insole. I actually did not do any sewing, I used fusible web to construct these. My intention was to sew after but it doesn’t seem necessary. We’ll see how they hold up.

slip on leather doll shoes handmade

Tags: ,

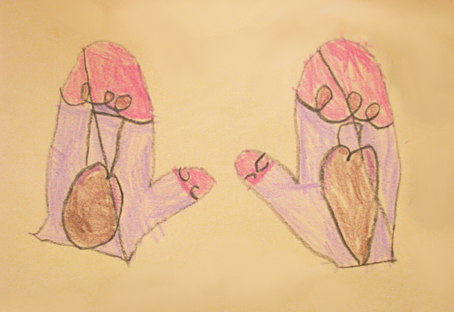
Winter in Maine means months of sweaters and snowpants, hot chocolate and mittens. For Christmas, the girl received a beautiful puzzle inspired by Disney’s Snow White with artwork painted by Tim Rogerson in a style subtly reminiscent of Picasso. I know that sounds like a strange combination but click through to see the original artwork, the artist really makes it work. Apparently the artist’s style made quite an impression on the girl because a few days after we worked on the puzzle she created this mitten picture beginning with a tracing of her own hands.

child's drawing of mittens

Later, the boy saw her picture and got an idea. He very carefully explained how we could sew mittens by putting our hands down on fabric instead of paper, tracing and cutting. He went on to describe how he would sew the mittens all around the hand and thumb. He even had some ideas about how to add details such as the hearts in the girl’s picture. I wish I could say we carried out his plan but he lost interest at that point. Sigh.

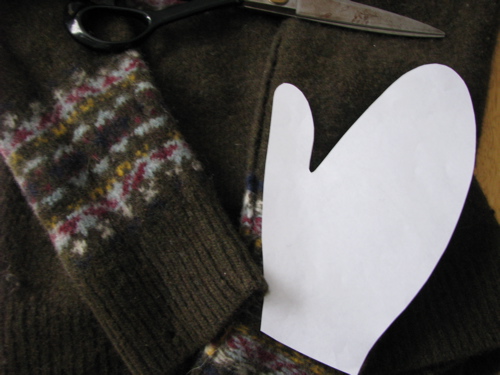
I did however incorporate his plan into mittens for myself with a little help from the kids. We traced my hand and cut out the pattern. I decided to use the fair isle decorated sleeves of a felted sweater to make my mittens. This lovely wool sweater was sent to me by my sweet friend Amy who thought that I could do something with it. Here’s what we did Amy!

cutting felted fair isle sweater into mittens
partially sewn mitten upcycle recycle refashion wool sweater sleeve

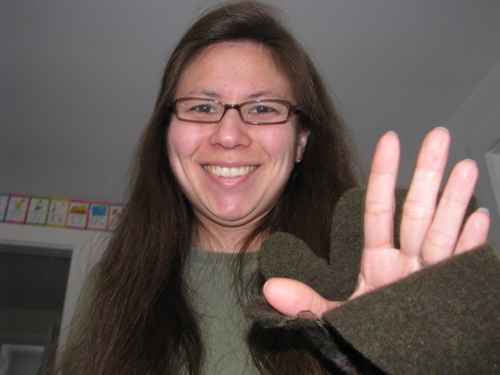
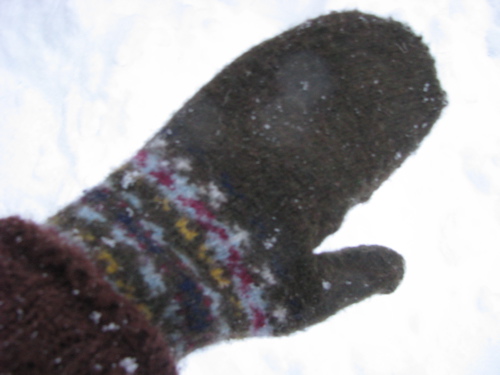
Although I kept the part of the seam that was already sewn, I decided not to sew a standard seam around the thumb and hand. Instead I overlapped the fabric, basted across the overlap and then used my needle felting tool to felt the overlap. My intention was to eliminate a hard seam on the inside, especially at the fingertips. This worked with some success. The sides of the mittens and thumb felted together well leaving almost no visible seam. The fingertip area, unfortunately, did not hold together so well. In fact I’ve been wearing them with the basting stitch holding the ends together which sort of negates the point of wool mittens. But despite the little draftiness at the ends they are still the warmest, softest mittens I have. I do intend to take a minute to work some more on the fingertips and thumbtips to close them up. If I can stop wearing them long enough.

mitten sewn from felted recycled upcycled refashioned wool sweater

P.S. Just in case you want to make your own sewn mittens, I highly recommend sewing in a diamond shaped gusset between the thumb and first finger. If you pin your mitten together and try it on, leaving that spot open, you’ll see why you need just a bit of extra fabric in there.

Tags: , ,

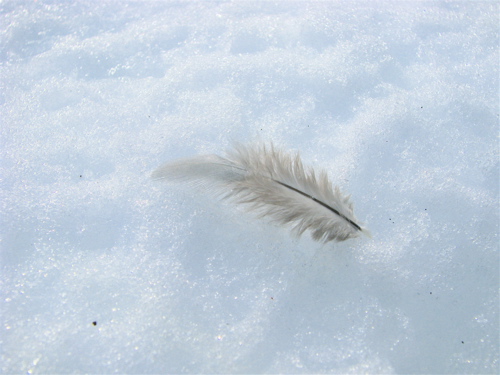
down feather on the snow

The sun is shining, we haven’t had any new snow to speak of in more than a week, the birds are singing, dropping little fluffy nesting feathers, and the squirrels are playing chase instead of making a beeline from stash to hidey hole. The snowblower-made sliding hill is still better than six feet tall and the snow in the yard can still swallow me thigh high in places but I’d like at least one more good dumping of fresh snow this season. It’s only February!

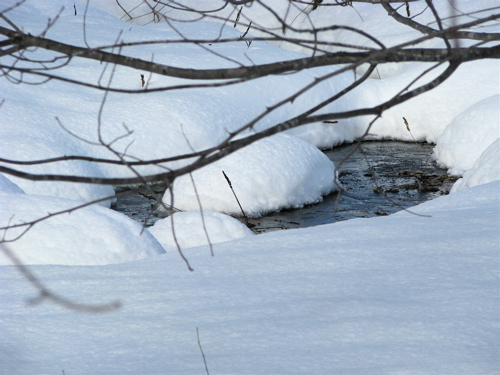
small stream in the snow

Above is the “stream” that runs through the empty lot behind our house. Laughingly referred to as waterfront property by the neighbor who owns the lot. I tend to think of it as little more than a drainage ditch but it does run all summer long and it looks rather picturesque here, doesn’t it?

Tags: ,

cookie cutter heart-shaped watermelon fruit valentine

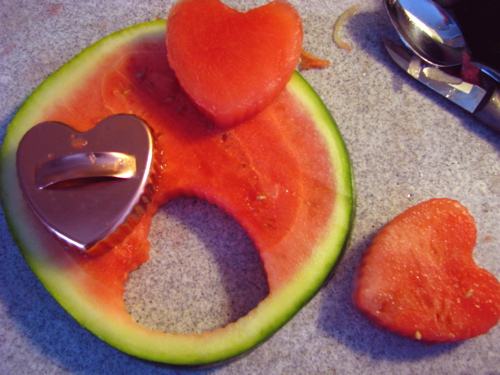
Who knew preparing for Valentine’s Day could be almost as hectic as Christmas? Between the boy and the girl we made thirty-plus valentines over the last two weeks. The girl was asked to bring in watermelon for a shared snack in her class today. She was already excited about that because she loves watermelon. Halfway through slicing the rather small melon I wondered if I could somehow cut the quarters into heart shapes like I do with strawberries. No, but I could use a heart shaped cookie cutter! So simple, but I have once again upped my genius quotient with the girl. Yay, me. And really no waste as I just cut up the very small leftover to be eaten at home.

These could easily make a whimsical but very grown up dessert with a small scoop of sorbet and perhaps a mint leaf or a few tiny berries for garnish.

Tags: ,

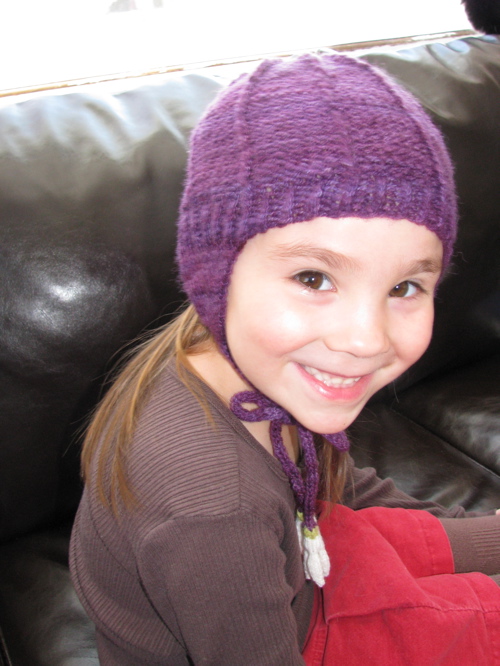
This is the hat I made from that PURPLE yarn. I am enamored with it. I’m usually relatively satisfied with the things I make but this one—this one makes me happy.

hand knit earflap hat handspun hand-dyed yarn

I really, really like how this project (Ravelry link) turned out. Did I already say that? It probably has more mistakes than anything else I’ve knitted but I decided it was more important to keep on and finish it rather than get bogged down in fixing little mistakes and lose my momentum. I made a few minor modifications to the Monarch Lyon Hat by Veronica O’Neil. I used the sizing from another hat pattern by the same author. In the original pattern the earflaps are detachable using buttons but I decided that the girl did not need one more thing to lose since part of the reason I knit this hat is because she has already lost several hats and mittens this winter. I’m wondering what we will find in the spring when the snow melts.

knitted snowdrop flowers

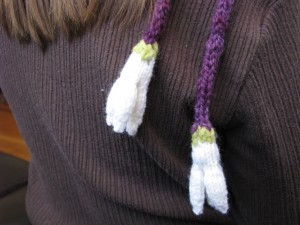
The main modification I made was to integrate knitted snowdrop flowers into the bottom of the i-cord ties. I chose snowdrop flowers since they are a delicate winter/early spring flower and they natural hang down in real life. I used a pattern by Lesley Stanfield from the book 100 Flowers to Knit and Crochet, although I was able to download it from the Lion Brand website for free. It was a bit fiddly but after trying several other flower patterns, this is the one I liked best. I think I’ll have to put this book on my wishlist, I like the variety and realistic look of the flowers in this book. The girl would probably prefer I put all 100 flowers on the same hat but she’ll have to live with my preference for simplicity for now. I guess she likes it, she graciously posed for a number of pictures.

Tags: , , ,

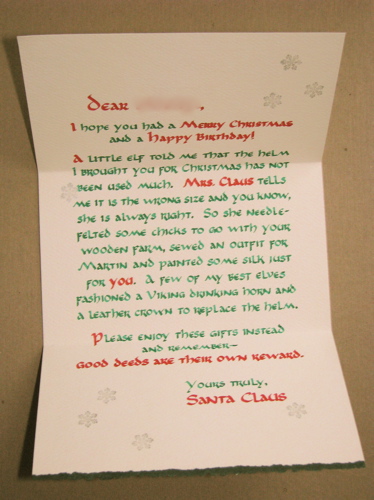
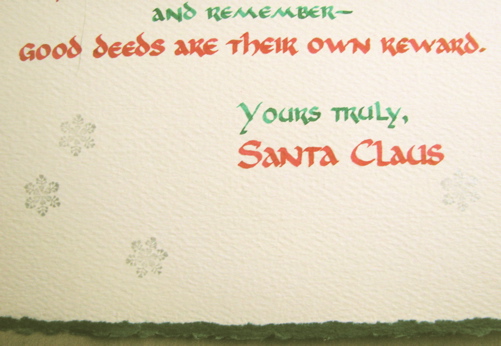
I recently answered an unusual request to create a hand-lettered message from Santa Claus. I know, you’d expect this in November or December, right? Me too. But the client had their reasons and provided the text. I used calligraphy pens with red and green inks, and a sprinkling of silver stamped snowflakes on a heavy cream-colored paper with a green deckle edge to enhance the old style Christmas mood. I used to do a fair bit of calligraphy when I was in high school and even college but most of my typography and lettering projects are done on the computer now with points and vectors rather than pens and brushes.

calligraphy hand lettered Santa Claus

I was a little apprehensive about how much time it would take me to complete the project given my rusty skills. I decided that a little digital preparation would not be amiss so I picked out a typeface reminiscent of Uncial script and set the type on the computer adjusting size, kerning, line spacing and justification exactly as I wanted it. I then printed this out and taped it to the back of the heavy paper and used the lightbox to letter directly over my computer-derived draft. It wasn’t tracing as I still drew the individual letters just as I would have if I didn’t have the guide underneath. But having the word placement and line spacing all worked out freed me to concentrate on the rhythm of the letterforms. It worked so well it almost felt like cheating. I doubt anyone but another graphic designer familiar with the particular typeface I used would possibly guess that I used a computer in the process. The final letter is hand-inked on classic paper stock, just as we might imagine Santa would write it himself.

detail of hand lettered calligraphy message from Santa Claus Christmas

Tags:

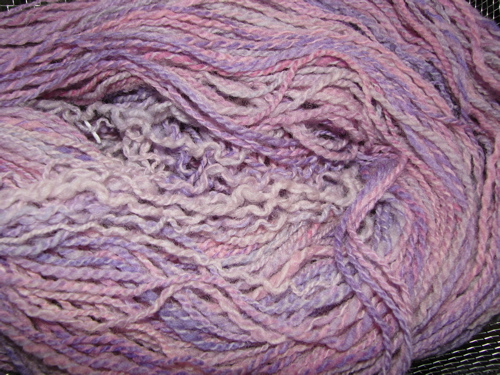
pastel pink purple handspun yarn

It began with the rather anemic looking light purple/pink handspun yarn above which has languished about the house for months, swatched and frogged more than once. The camera does lie, it looks worse in real life. The yarn started as an even less inspiring roving I received in a trade. Apparently I neglected to take a picture of it then. No loss.

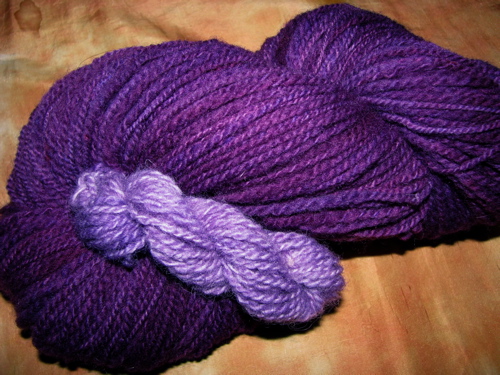
30 minutes simmering in the pot exhausted the completely haphazardly mixed purple dyebath. I did throw in a little mini-skein towards the end there, you can see it floating on top.

dyeing wool yarn purple

A trip through the dryer in a net lingerie bag—I’m so impatient—and voila! This is yarn I want to knit!

hand-dyed handspun purple lavender yarn

Tags: ,

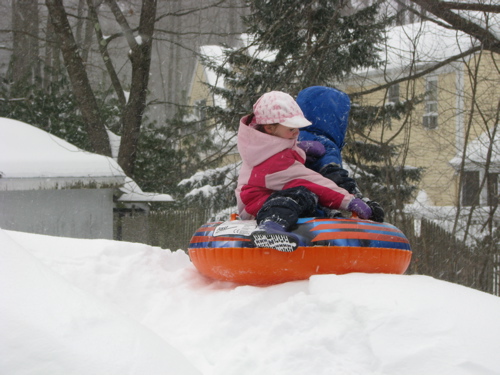
The kids went back to school today but I’m still recovering. There are now two hats lost in the sea of snow. I guess I know what’s next in the knitting queue.

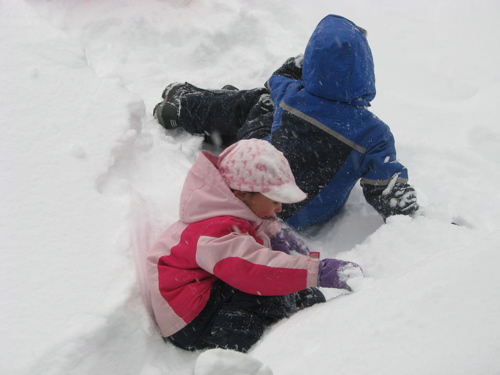
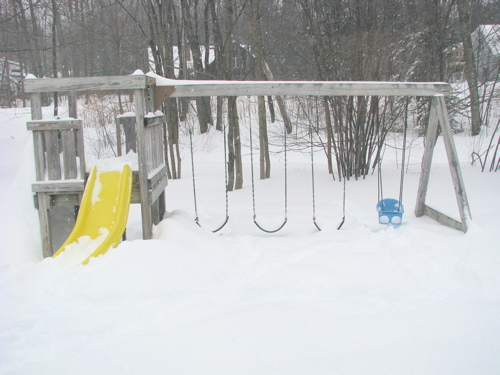
Dad has created quite the little sledding hill at the end of the drive with the help of the snowblower. And the kids have packed two sides of the slide platform with snow to create a cozy little hideaway. If you aim your sled just right you can shoot all the way into the dooryard of the fort sheltered by the turn in the slide. The “tube” is more likely to take you bouncing down into the deepest snow—maybe two feet including what came down in yesterday’s storm.

IMG_9404

IMG_9402

IMG_9407

Tags: ,

I’m blogging about finished projects to make myself feel better about all the unfinished projects. I did work on Works-In-Progress today but I also suddenly stopped to work out a sewing construction idea which resulted in making a pair of jeans for the girl’s doll. It’s a bad habit I have—I get an idea and suddenly I’m elbow deep in the making without even realizing it.

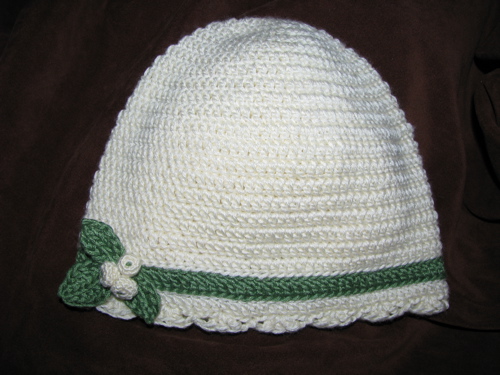
Anyway, back to recent finished objects. A hat crocheted from a super soft bamboo/acrylic blend for a charity crochet-a-long for chemotherapy patients. You can see the pattern I used and notes on my leaves and berries embellishment on my Ravelry project page.

bamboo/acrylic crochet chemo hat cap leaves berries

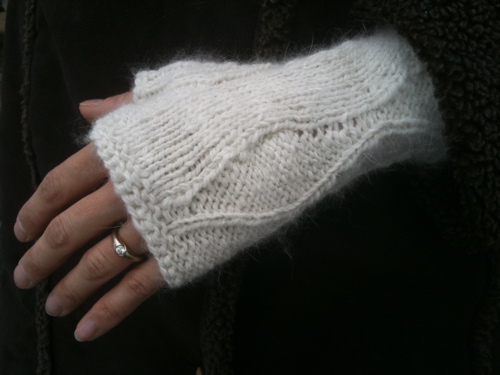
I’m rather pleased with these fingerless mitts (Ravelry project page) which I just sent off in a mini care package to a friend who has just gone off to college. I knit them from a 50/50 blend of Cormo wool and angora (from Gabe) that I blended myself, spun and finished into a two-ply worsted weight. I’m grateful to my husband who took the lovely picture that captures the wonderfully soft and fuzzy squishiness.

the yarn:
cormo/angora handspun yarn

the mitts:
hand knit fingerless mittens mitts gloves angora

Tags: , ,

The boy recently told me that he wanted to be a “builder” when he grew up, just like me. He then looked at his dad thoughtfully and said encouragingly, “You can be a builder when you grow up too Dad.” Poor Dad. I explained that Daddy builds things too but you can’t always see them.

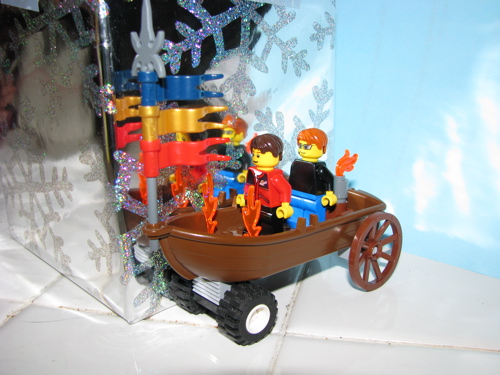
A lego steampunk land-airship with boiler in the back.

lego boat with wheels

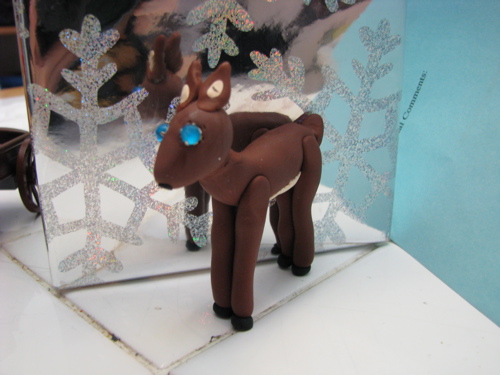
A collaborative Sculpey white tailed deer mostly done by the girl, with a little help from her brother and me. This was probably inspired by a recent trip to L.L. Bean where they have lots of native-to-Maine animal taxidermy on display. The plastic rhinestone eyes are the really old kind that had to be set with prongs. It didn’t occur to me that they might be heat sensitive, oops. Luckily the time in the oven only caused them to become less shiny and softer looking, a happy accident.

Sculpey deer with blue rhinestone eyes

They make so many things that I don’t always get pictures of everything but these were two things they particularly asked me to photograph. They set the scene themselves with the shiny snowflake papered box which they also made out of leftover Christmas wrapping.

Tags: , ,

As always I have my eyes open everywhere I go for the supplies needed to carry out my random inspirations. Sometimes I don’t even know what to call what I’m looking for so how will I know where I might find it? The hardware store is one of my favorite places to find crafty supplies.

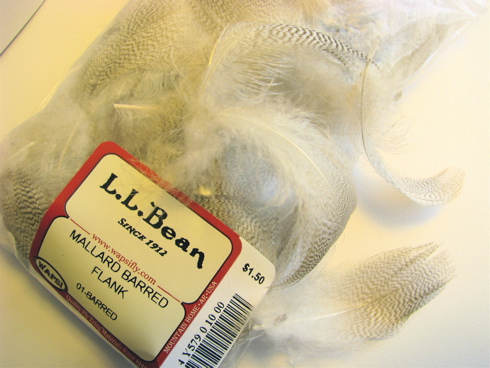
This week I was surprised to find an incredible array of beads, feathers, colorful fibers, threads and wire in a most unlikely place, the fishing department of L.L. Bean. Although their website, or my purchase, does not show the amazing variety I saw in the store, Google images can provide you a taste of what’s available in the world of fly-tying supplies. If you are a beader, spinner, scrapbooker or almost any kind of crafter, check out your local fly-tying supply shop, you’ll find a treasure trove of new inspirations you’ve never seen in your regular craft store.

feathers for tying flies

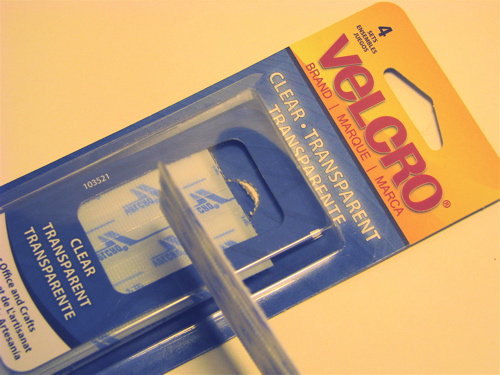
And this one I did find at the hardware store. Ultra thin transparent velcro. I’ve been looking for it at craft and sewing suppliers because I want to use it for closures on doll clothing. Cost with shipping for a small amount online would be around $10, a little steep for something I’m not sure is exactly what I need. $2.xx at the hardware store? Definitely worth a try!

ultra thin transparent velcro hook and loop clear

And yes, I do have projects in mind for both of these finds.

Tags: , ,

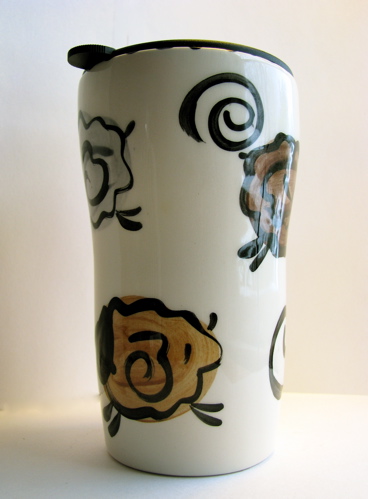
Spunky Eclectic ceramic travel mug sheep

Hand-painted with cute sheep by Amy King. I met her as Spunky Eclectic, fiber woman. Who knew she also paints and throws pottery? The great thing about this mug is that it’s ceramic so it goes in the microwave to reheat that tea I can never seem to finish before it gets cold. And the heavy ceramic and tight-fitting travel lid helps the contents stay warm longer whether I’m out or at home. It’s generously sized but not too big either. Wash, rinse, reuse.

Tags:

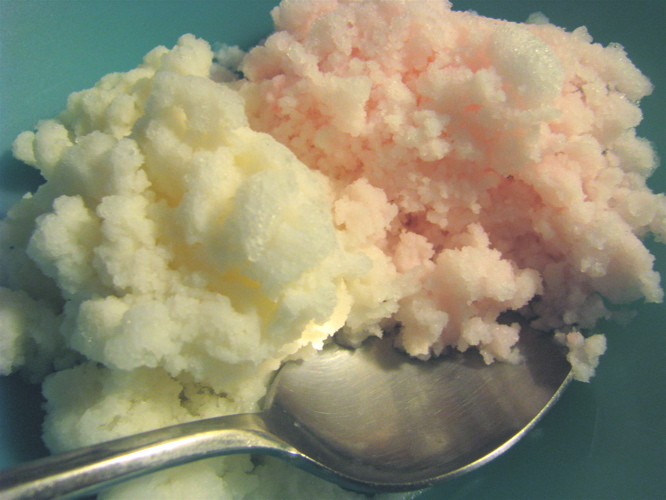
snow cream vanilla cinnamon

Once or twice a winter when we get a nice big snow I collect a bowl of clean snow and we pour in some milk or cream, a little sugar and some vanilla. Stir it up and you have snow cream. The first time we made it I was surprised how good it tasted. Or maybe anything sweet tastes good after you’ve been running around outside. The pink snow cream was flavored with just a drop of cinnamon oil and was highly favored by the boy and me. Surprisingly the girl preferred the plain vanilla despite her general preference for all things pink.

Tags:

« Older entries § Newer entries »