fiber arts

You are currently browsing the archive for the fiber arts category.

These are all angora/merino blend yarns from my parents’ rabbits—Keiser Angoras. I’ve been experimenting with handpainting and I’m excited to see how the placement of dye colors will redistribute when knitted.

hand dyed angora/merino fingering yarn Keiser-Angoras.com

hand dyed angora merino yarn ball Keiser-Angoras fingering

chocolate and cherries hand painted dyed angora/merino yarn

And this is what happens when you can’t find your skein winder. You raid your kids’ Tinker Toys and jerry-rig one. Actually they were mine as a kid! Some toys are ageless.

Tinker Toy yarn skein winder DIY

Tags: , ,

I started with some handpainted Blue-Faced Leicester wool I received in a trade.
IMG_0330_medium

Spun it into a single and then chain-plied it to preserve the colors.
handpaint BFL spinning wheel chain plied navajo

Knit the yarn into these baby socks, based on Cat Bordi’s pattern.
hand spun knit baby socks

And this sweet hat, based very loosely on the Munchkin Hat, pattern by Jeanne Kubricht. See my project page on Ravelry for notes on my version.

newborn hat handspun hand knit

This hat does a great job of staying on our little gnomey’s head and keeping him warm!

Tags: , ,

I know this is not the only thing I’ve crafted in the last few weeks but I’m really at a loss as to what else I’ve been doing! I suppose we’ve been outside more. We are really full swing into spring now and it’s lovely to hear all the little birds and see all sorts of shoots coming up out of the ground. Sometimes I can’t remember what I planted where!

cast-on with handspun handdyed wool yarn

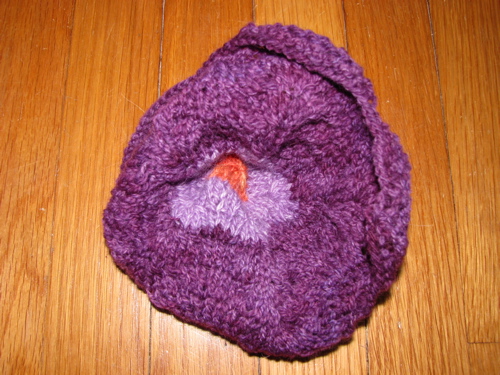
This project began with some yarn leftover from a hat I made for the girl, along with some other remnants that I used as dye sops. A simple but interesting construction, the pattern of paired decreases produces the soft scalloped edge. The finished knit looked like a crumpled mess.

knitted flower bowl ready to be felted

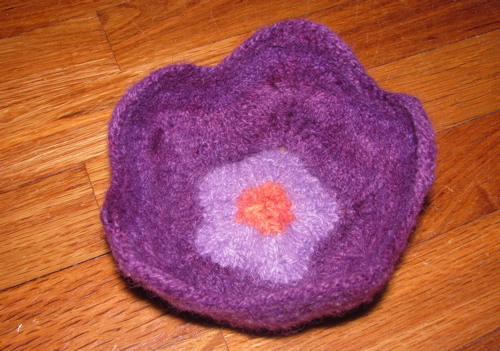
With faith and several runs through the washer and dryer it shaped up nicely into this sweet little felted flower bowl (link to Ravelry).

felted fulled knit wool flower bowl

Tags: , ,

Spinning purists beware . . .

Months ago I was spinning some nice wool top and had the realization that my left hand was actually doing very little. Some minor tension, a little adjustment here and there—actually my right hand wasn’t doing that much either, I just had the tension on the wheel set a bit high and I was allowing that tension to draft the top right out of my hand. My mind raced ahead and wondered if it was possible to spin with just one hand. I immediately dismissed the possibility as I’d never heard or seen it mentioned anywhere. Being self-taught, I felt too silly to ask anyone online in the various spinning forums I have poked my head into virtually. I occasionally played around to see if I could spin without using my left hand and would manage a yard or two.

I didn’t really pursue it until several outside influences came together. My spinning godmother, Annie, unexpectedly sent me a book called Spinning for Softness and Speed by Paula Simmons. Within the pages was a section specifically about spinning with one hand! The technique she described was a little different from what I was doing but I was encouraged by the possibility that it could be done at all and her explanation helped my own process along.

The other influence that gave me a sense of purpose was a post on the New England Textile Arts (NETA) forum from one of the members asking about spinning with one hand. While she received many responses, no one had ever seen or tried it before. I reluctantly admitted I had tried it and recommended the above book. Several weeks ago I met Beth, a.k.a yarndemon, at NETA’s annual get-together in Freeport. (Go see Beth’s lace socks knit with one hand!) We had chatted via e-mail but she wanted to see how I was actually doing the spinning so I practiced quite a bit beforehand. We discussed various techniques, wool preparations and experiences pertaining specifically to spinning with one hand. She was encouraged that we were using a similar technique and achieving similar results. I was encouraged that I was able to spin with one hand (or at all for that matter) in front of strangers!

Since my discussion with Beth, I’ve been able to sort out a bit more about what was working and not working for me. I’d had several attempts that looked much worse than my very first spindle spinning. There were long thick barely spun sections and tightly overspun thin sections. What I figured out was that although I was spinning a woolen yarn, the best prep for my one-handed method was actually combed top. (Any purists still reading may now keel over.) I finally managed a soft single out of naturally black merino that was still thick and thin but with just the right amount of spin. In fact, it was not unlike a commercial thick and thin singles yarn from a popular manufacturer. The blue in the photo below is commercial Malabrigo Aquarella and the dark merino is my handspun.
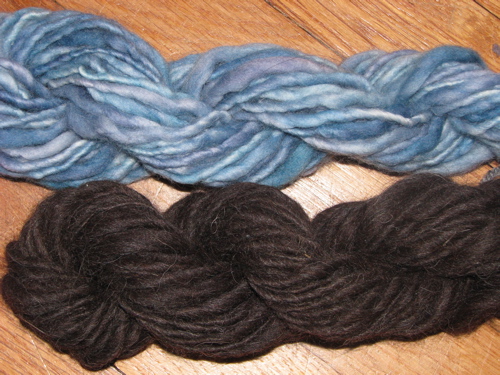
Malabrigo Aquarella thick and thin single and handspun thick and thin black merino

My fourth attempt involved a merino/bamboo/nylon combed top from Spunky Eclectic. I had intended to spin this semi-woolen with two hands to a two-ply fingering or sport weight. It slid so well out of my hand that I decided to try spinning one handed and see if I could get a more even single with a smaller grist. Success! I did not hold myself to spinning the entire 3 ounces one-handed but I’d say at least half of it was spun one-handed. I haven’t wet-finished it but I’m going to guess I’ve managed an airily soft, fairly even sport/DK weight at 230 yards from 3 ounces. While I don’t have a reason to become fully proficient at this technique it has been an interesting experience and I have learned quite a bit about the way I spin from the attempt.

I know that some of you spinners out there are thinking this post is worthless without video. Sorry, while I can spin with just my right hand, my left hand could not manage holding the camera! And I think I’m going to need a wild handpaint to really show what’s going on. So please comment if you’d like to see video.
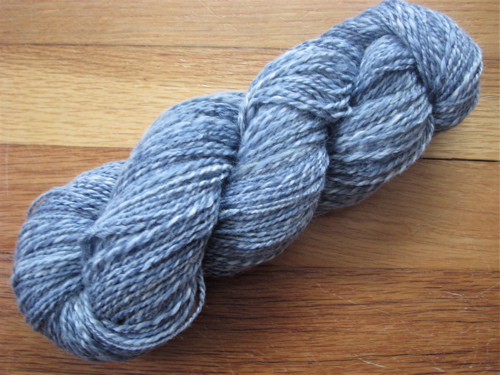
handspun two-ply yarn Spunky Eclectic PANDA blue chip merino bamboo nylon

Tags: ,

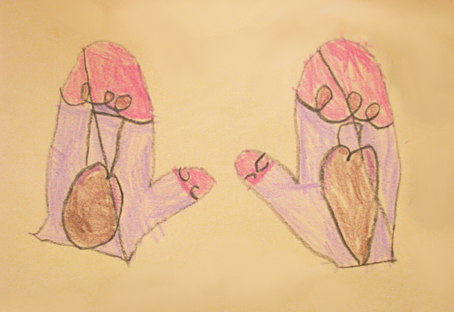
Winter in Maine means months of sweaters and snowpants, hot chocolate and mittens. For Christmas, the girl received a beautiful puzzle inspired by Disney’s Snow White with artwork painted by Tim Rogerson in a style subtly reminiscent of Picasso. I know that sounds like a strange combination but click through to see the original artwork, the artist really makes it work. Apparently the artist’s style made quite an impression on the girl because a few days after we worked on the puzzle she created this mitten picture beginning with a tracing of her own hands.
child's drawing of mittens

Later, the boy saw her picture and got an idea. He very carefully explained how we could sew mittens by putting our hands down on fabric instead of paper, tracing and cutting. He went on to describe how he would sew the mittens all around the hand and thumb. He even had some ideas about how to add details such as the hearts in the girl’s picture. I wish I could say we carried out his plan but he lost interest at that point. Sigh.

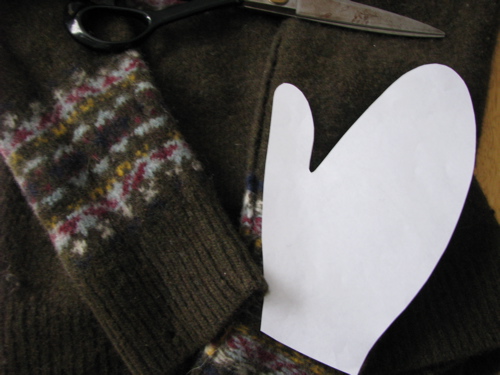
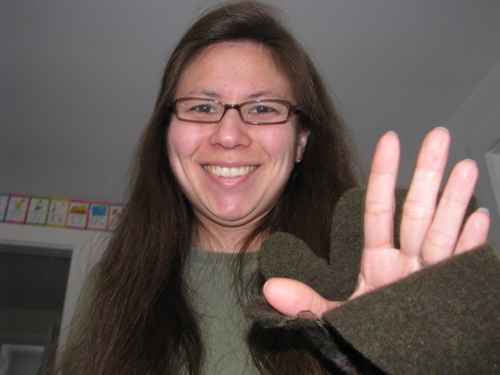
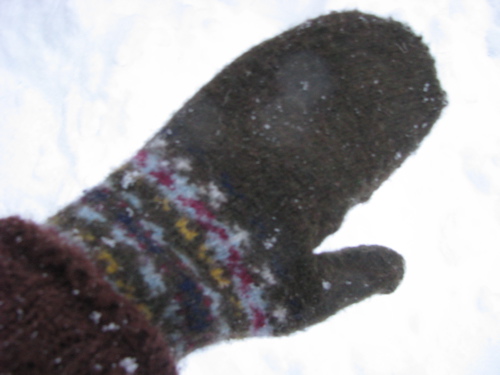
I did however incorporate his plan into mittens for myself with a little help from the kids. We traced my hand and cut out the pattern. I decided to use the fair isle decorated sleeves of a felted sweater to make my mittens. This lovely wool sweater was sent to me by my sweet friend Amy who thought that I could do something with it. Here’s what we did Amy!

cutting felted fair isle sweater into mittens
partially sewn mitten upcycle recycle refashion wool sweater sleeve

Although I kept the part of the seam that was already sewn, I decided not to sew a standard seam around the thumb and hand. Instead I overlapped the fabric, basted across the overlap and then used my needle felting tool to felt the overlap. My intention was to eliminate a hard seam on the inside, especially at the fingertips. This worked with some success. The sides of the mittens and thumb felted together well leaving almost no visible seam. The fingertip area, unfortunately, did not hold together so well. In fact I’ve been wearing them with the basting stitch holding the ends together which sort of negates the point of wool mittens. But despite the little draftiness at the ends they are still the warmest, softest mittens I have. I do intend to take a minute to work some more on the fingertips and thumbtips to close them up. If I can stop wearing them long enough.

mitten sewn from felted recycled upcycled refashioned wool sweater

P.S. Just in case you want to make your own sewn mittens, I highly recommend sewing in a diamond shaped gusset between the thumb and first finger. If you pin your mitten together and try it on, leaving that spot open, you’ll see why you need just a bit of extra fabric in there.

Tags: , ,

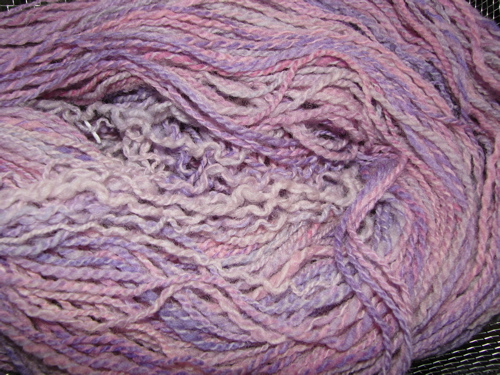
pastel pink purple handspun yarn

It began with the rather anemic looking light purple/pink handspun yarn above which has languished about the house for months, swatched and frogged more than once. The camera does lie, it looks worse in real life. The yarn started as an even less inspiring roving I received in a trade. Apparently I neglected to take a picture of it then. No loss.

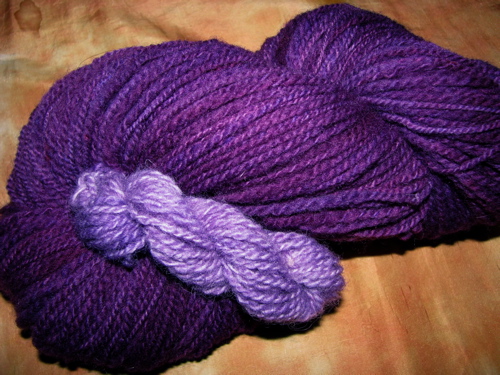
30 minutes simmering in the pot exhausted the completely haphazardly mixed purple dyebath. I did throw in a little mini-skein towards the end there, you can see it floating on top.

dyeing wool yarn purple

A trip through the dryer in a net lingerie bag—I’m so impatient—and voila! This is yarn I want to knit!

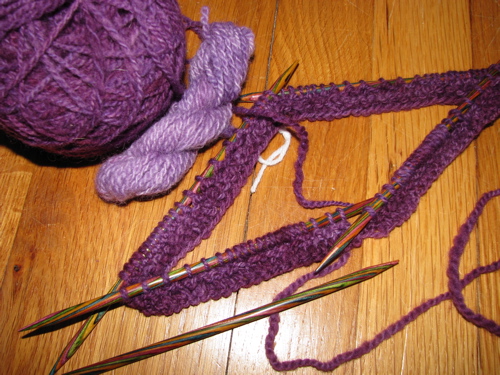
hand-dyed handspun purple lavender yarn

Tags: ,

I’m blogging about finished projects to make myself feel better about all the unfinished projects. I did work on Works-In-Progress today but I also suddenly stopped to work out a sewing construction idea which resulted in making a pair of jeans for the girl’s doll. It’s a bad habit I have—I get an idea and suddenly I’m elbow deep in the making without even realizing it.

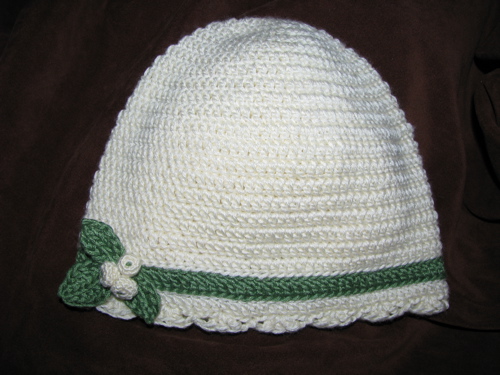
Anyway, back to recent finished objects. A hat crocheted from a super soft bamboo/acrylic blend for a charity crochet-a-long for chemotherapy patients. You can see the pattern I used and notes on my leaves and berries embellishment on my Ravelry project page.

bamboo/acrylic crochet chemo hat cap leaves berries

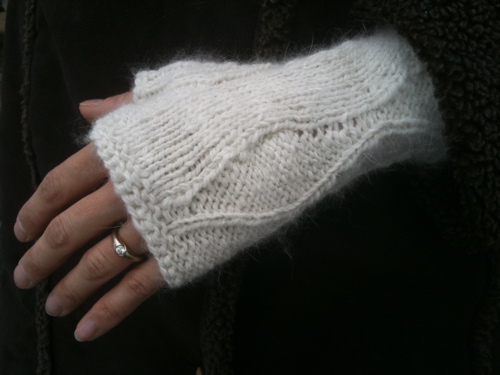
I’m rather pleased with these fingerless mitts (Ravelry project page) which I just sent off in a mini care package to a friend who has just gone off to college. I knit them from a 50/50 blend of Cormo wool and angora (from Gabe) that I blended myself, spun and finished into a two-ply worsted weight. I’m grateful to my husband who took the lovely picture that captures the wonderfully soft and fuzzy squishiness.

the yarn:
cormo/angora handspun yarn

the mitts:
hand knit fingerless mittens mitts gloves angora

Tags: , ,

As always I have my eyes open everywhere I go for the supplies needed to carry out my random inspirations. Sometimes I don’t even know what to call what I’m looking for so how will I know where I might find it? The hardware store is one of my favorite places to find crafty supplies.

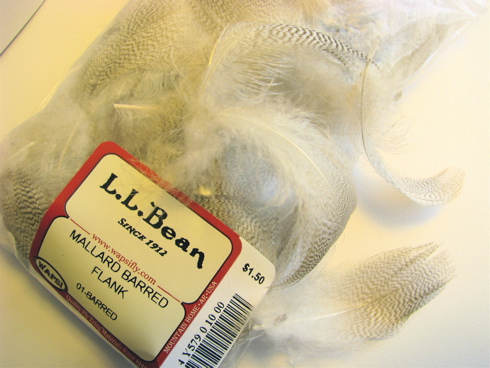
This week I was surprised to find an incredible array of beads, feathers, colorful fibers, threads and wire in a most unlikely place, the fishing department of L.L. Bean. Although their website, or my purchase, does not show the amazing variety I saw in the store, Google images can provide you a taste of what’s available in the world of fly-tying supplies. If you are a beader, spinner, scrapbooker or almost any kind of crafter, check out your local fly-tying supply shop, you’ll find a treasure trove of new inspirations you’ve never seen in your regular craft store.

feathers for tying flies

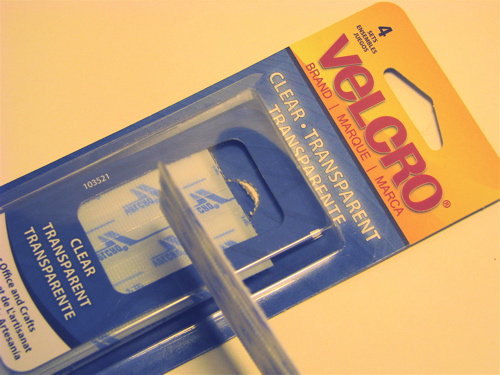
And this one I did find at the hardware store. Ultra thin transparent velcro. I’ve been looking for it at craft and sewing suppliers because I want to use it for closures on doll clothing. Cost with shipping for a small amount online would be around $10, a little steep for something I’m not sure is exactly what I need. $2.xx at the hardware store? Definitely worth a try!

ultra thin transparent velcro hook and loop clear

And yes, I do have projects in mind for both of these finds.

Tags: , ,

It just goes on and on and on . . .”

A slight change from a silly little song that used to get tossed around in the music department in college.

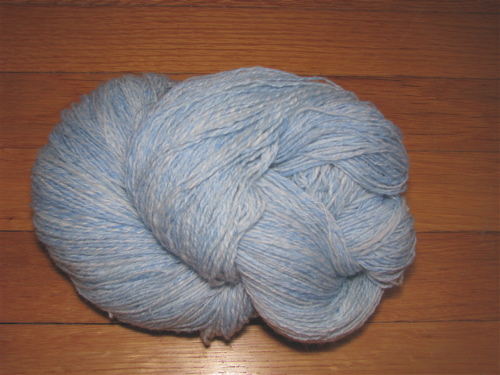
hand-spun yarn merino/silk light blue

But really, this started as 50/50 merino/silk mill end fiber that I bought for a great price from Susan at the Elegant Knitter at Goose Pond, a yarn and gift shop not far down the road. I bought a pound at New England Textile Art‘s SPA weekend in February 2010 and then visited the shop for another pound a few weeks later after deciding that I wanted to try spinning for a sweater.

Thereupon followed a serious of minor disasters of which there may be photos but it has taken such a long time to get to this point that I don’t even know where those photos are. Dyeing, carding and carding and carding, test swatching, etc. I decided that I would have the best chance of getting a relatively even yarn by just spinning what felt the most comfortable for the fiber which, not surprisingly for me, turned out to be quite fine. That was okay, my plan was just to fill all the bobbins and then ply three or four strands to make up a fingering weight. I made it through about three bobbins before I was ready to quit. Just not loving it. Fortunately I had traded for a jumbo flyer and it arrived about the time I was ready to give up spinning the singles. I usually really enjoy plying but it took forever! And there are quite a few knots, much to my dismay since the jumbo bobbin was able to hold the entire plied contents of the three regular size bobbins.

The result was nearly 800 yards of three-ply light fingering, about 16-20 WPI weighing only 5.8oz. I have not washed or swatched yet so those numbers could change a bit. I was actually surprised at the yardage, I could probably eke a sweater out of that. Or I could spin some more of the fiber and have more choices. Or I could spin it differently and/or overdye and make something completely different since there is still more than a pound left. At least the color is pretty much what I was attempting, a very light variegated icy blue. I’m reserving judgement on whether I really want to knit a sweater out of this yarn until after it’s washed and swatched.

Tags: , ,

Some pics of recent spinning. Or not that recent. Apparently I started on this post almost a month ago. I somehow did not size down the photos, thought I double checked that, still couldn’t upload the photos, gave up for a while. Finally asked guru husband, then realized the photos were huge… I’m not computer illiterate. In my other life I was a graphic designer, really.

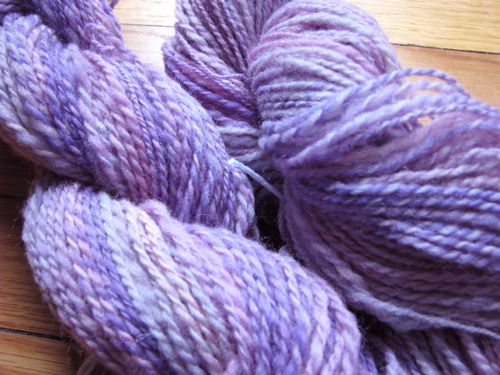
Anyway, both of these are around 4oz. The first is lavender and pink unknown wool that I received in a trade. To be honest it didn’t look like much before I spun it. I think there’s hope for it now. I don’t know what I’ll make with it though. Suggestions welcome.

handspun wool yarn

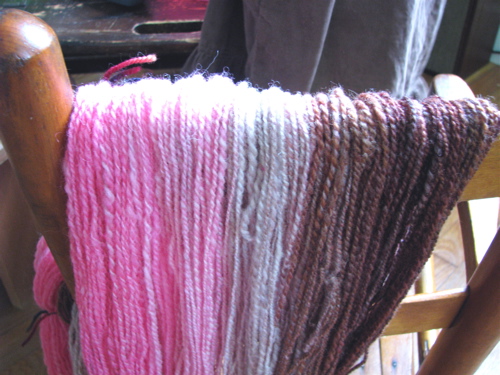
And the other is 4oz. of Neapolitan hand-painted Shetland wool from Spunky Eclectic spun to about sport weight.

handspun Shetland yarn gradient progression dye

This second yarn was intended for the 4! Ounce! Challenge! on Ravelry but was plagued with problems from the start.
I did choose the colorway and I did want to try Shetland for this project. I even had an idea for what I wanted to make with it. It did not occur to me until after I received the wool that I probably should have ordered the progression dyed fiber instead of the regular handpaint. Oh well, I decided I would just separate out the colors and lay them out in a progression and spin from there. That way it would have a little more variety to it anyway. Right. Well, that did work out okay except that I spun the thing into one two ply yarn of 400 some yards that goes from unnaturally pink on one end through cream to chocolate brown on the other. That’s when I realized that what I really needed was two balls of approximately 200 yards each going from pink to brown in each ball. Hmm. So that set me back awhile. I thought about other designs. I did end up thinking a lot about all the different ways you could spin a handpaint or a progression dye and how the plying and eventual knitting could take many different turns.

I finally started knitting today. I have a plan to still complete my original project and have it look pretty much like I intended. I have a schematic, I have a swatch, I have WPI, SPI and I’m not afraid to use them. And I’m trying to take notes as I go along so hopefully if it turns out well, I can repeat it. Yes, I’m intentionally not saying what it is I’m making. I haven’t seen anything quite like it, even slogging through the vast patternland of Ravelry. It is historically inspired so I can’t claim the idea as my own but, designing it for handpainted handspun fiber, that I will claim. If it works that is. If not, well, I’ll just come back and delete this post. Oh yeah, nothing you publish to the internet is ever really gone.

Tags: , , ,

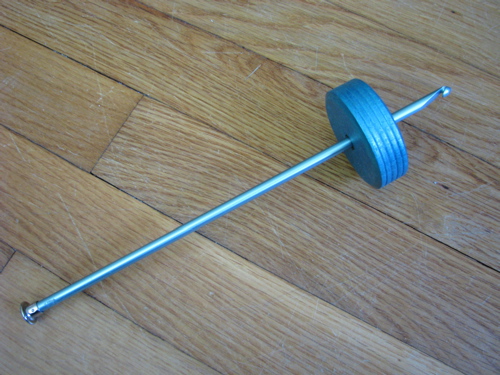
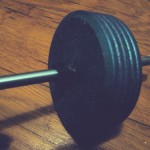
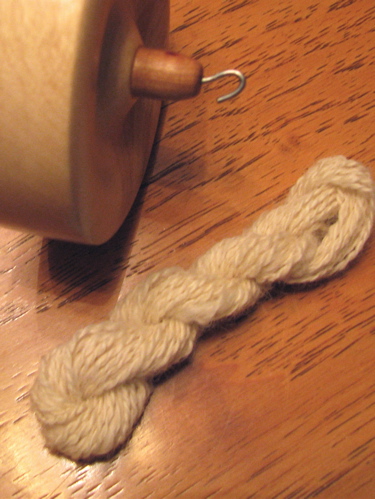
handmade DIY drop spindle made from afghan or tunisian crochet hook and toy wooden wheel

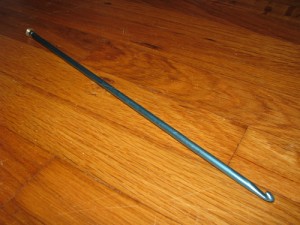
Apparently I’ve never actually given the instructions on how to make a drop spindle out of an afghan hook and a wooden wheel. It’s really quite simple. You need an afghan hook (also called a tunisian crochet hook)—looks like a crochet hook on one end and the back end of a knitting needle on the other end. The shaft is completely round, no thumb bump like a regular crochet hook. Fatter and metal is better for weight purposes. I like mine about 10 – 12 inches long. You can buy these in craft shops or find one cheap at a yard sale or second hand shop.

afghan or tunisian crochet hook

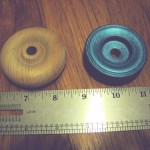
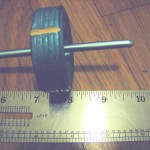
The second part you need is a wooden wheel or circle about 2.5 to 3 inches in diameter and .5 to .75 inches thick. The larger diameter and wider width will spin longer and steadier. I’ve found these toy wheels in craft stores in the bare wooden parts/toys section and places that sell unfinished wood furniture. The ones I like the best actually look like truck tires and are wide on the edge but have a well in the middle. I prefer these turned pieces because they are uniformly balanced.

toy wooden wheels

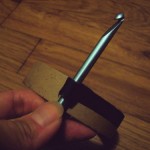
These wooden wheels do have a hole in the middle already but it’s probably going to be too big for your afghan hook. I use a thick black photographers tape or masking tape wrapped around the shaft about two inches down from the hook until it is a tight fit for the hole in the wooden wheel. I usually cut the tape in half lengthwise and taper down the end. It’s thick enough when you can just barely get the wheel on with some gently turning and twisting. Put the wheel on with the flat side toward the long end. You could add a drop of glue if you like, I haven’t found it necessary.

wrapping masking tape around the hook IMG_8400

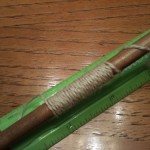
The last step is to use a craft knife to cut a notch in the wood opposite the hook. This serves as a resting place for the yarn you are spinning. If you paint the wheel, I prefer to cut the notch after painting to make it more visible. ETA: The finished spindle should weigh approximately 1.5oz or 50 grams.

DIY drop spindle made from afghan hook and wooden wheel

There are many videos available on the web to show you how to use your drop spindle.

Tags: ,

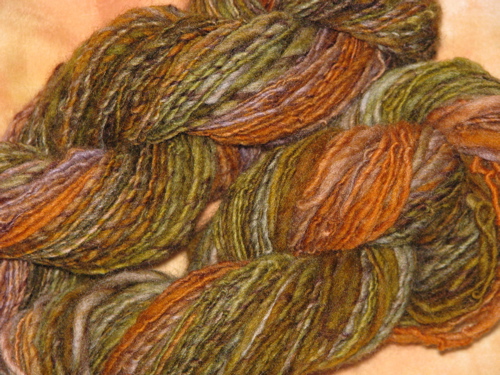
handspun marled singles from hand painted merino superwash fiber

This project started out with 2.5 oz of earthy colored handpainted fiber I received in a trade. It’s probably superwash merino. There was a good sized line of deep brown that ran all the way through the rope of pine green, stormy blue, dark pumpkin and natural wool. I spun it into marled singles which I’ve never tried before. Actually I didn’t know that’s what it was called until after I started doing it. It creates nice soft color transitions.

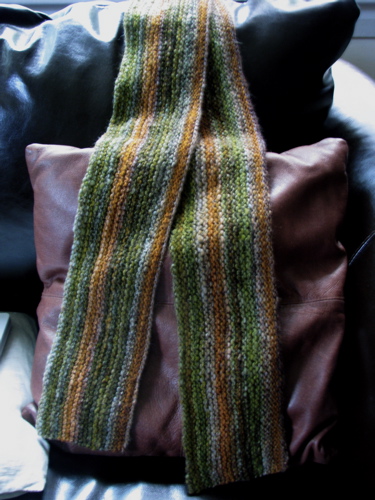
I ended up with 250 yards so I decided to make a scarf. I decided on garter stitch not just because it’s easy but because I like the nubbly texture and the fact that it looks the same on both sides. I ended up knitting lengthwise so the stripes would be vertical when worn. I used all but about a yard. Washed and blocked and waiting for me to decide who to give it to.

handspun lengthwise garter stitch scarf

Tags: ,

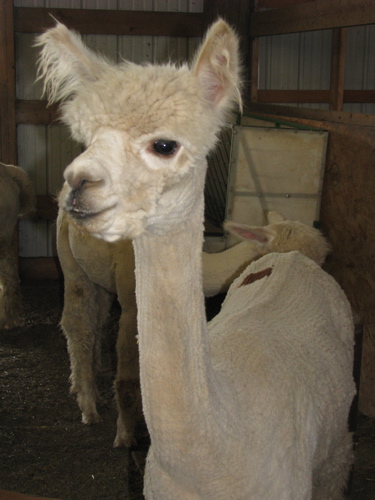
The animal: Alpaca named Xena. Lives right here in Maine and I got to meet her and see her home: the most amazingly clean farm ever. The first thing that struck me was how consistent the shearing was on each animal. Like a work of art.

shorn alpaca

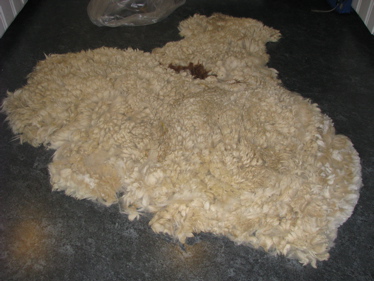
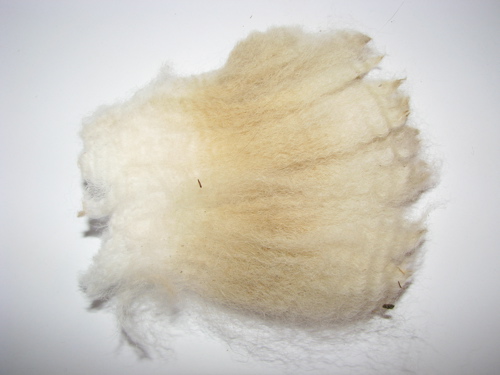
The fleece: Four pounds of it, minimal VM, a fair amount of dust but well skirted and easy to clean. Alpaca fleece does not contain lanolin as sheep fleece does. I had an interesting time unfolding this out of the bag as it wanted to drift apart. For now I have carefully put it back in the bag until I can come up with a plan on how best to wash it. The second picture shows a single unwashed lock, 4″+ staple length.

raw alpaca fleece

lock of raw alpaca fiber unwashed

The fiber: Lacking fiber combs, I used a hair pick to comb through the washed and dried lock, preparing it to spin. Now I understand the difference between commercially prepared top and hand combed top.

washed and combed alpaca lock fleece fiber spindle

The spinning: Hand spun and andean plied into a lace weight/light fingering yarn, about 20wpi I think.

laceweight alpaca single yarn hand spindle andean plying bracelet lace weight single into two ply yarn two-ply alpaca yarn handspun laceweight

The finished yarn: about 6 yards out of one lock. I did weigh it but I don’t remember how much it weighed. Oops. Deliciously soft and pleasantly springy.

two ply hand spindled alpaca lace weight light fingering yarn mini skein

I plan on blending some of this alpaca fiber with angora from my parents’ rabbits. I may also try dyeing some of it. I want to use the brown as an accent somehow to remind me of cute Xena’s spot. Perhaps a little scarf with a single large circle of brown?

Tags: , ,

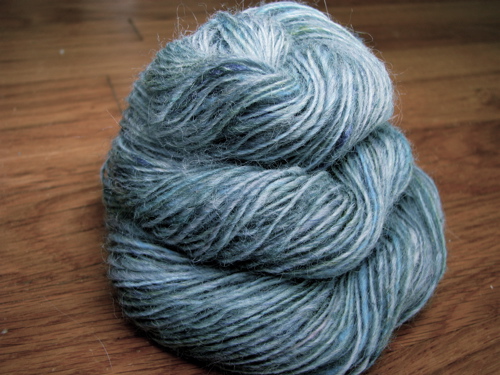
This is my first attempt at a thick and thin singles yarn. It varies from 12 to 28 WPI or sport to heavy lace. It doesn’t look to me like that much variation but I used the gadget on it and that’s what I came up with. The colors would be perfect for a patchwork shell I’m planning but I think I’ll wash it up before I decide if it’s next to the skin worthy. 140 yards spun from a 1.5 oz batt I received in a trade. The colors are bluish gray with a hint of green. I named it Presumpscot after one of the local rivers.

gray blue green thick and thin singles wool yarn spun from hand carded batt

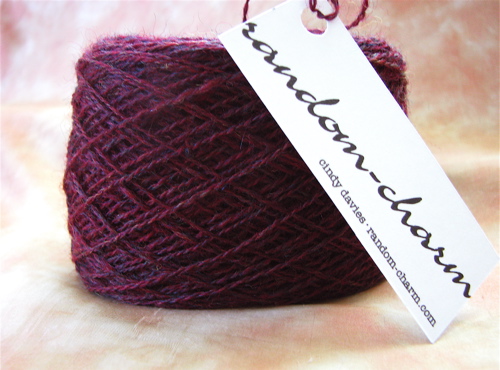
And here is some laceweight I called Vintage Garnet. I gave it away so I don’t know what it will become but it went to a good home. You can see all the details on the spinning in my stash entry on Ravelry.

Vintage Garnet laceweight handspun two ply by random-charm

Tags: ,

This is third in a series intended to show the steps from fiber to finished item. You can click on following the fiber under categories to see them all.

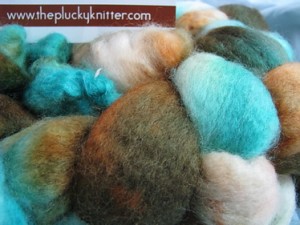
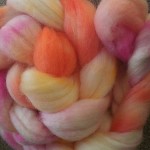
The fiber: handpainted blue-faced leicester top in a colorway called “blush” including pinks, peaches and a bit of yellow with some natural white showing through. I received this in a trade so I don’t know who did the handpainting.

handpainted blue-faced leicester BFL spinning wool pink peach yellow

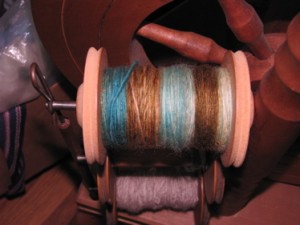
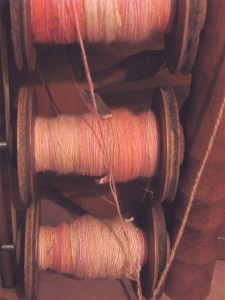
the plies: three singles on the bobbins ready to be spun into yarn

three singles of handpainted BFL ready to be plied into yarn

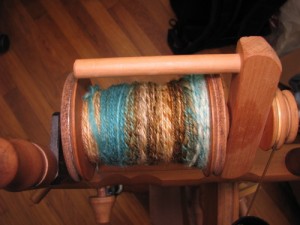
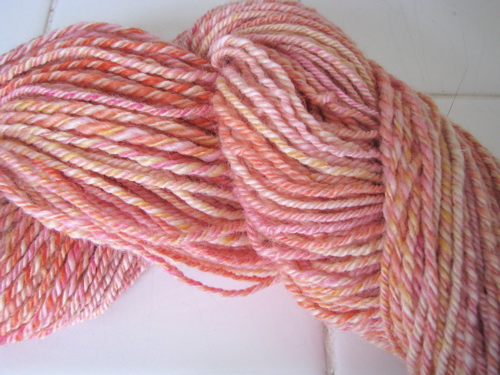
the yarn: three-plied sport weight yarn, about 110 yards

sport weight handspun handpainted BFL wool yarn

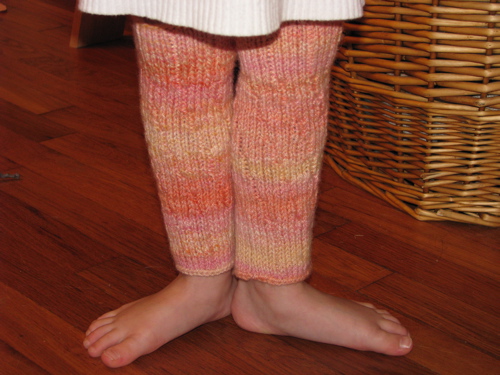
the project: spiral legwarmers inspired by Spiral Bedsocks, a free pattern from Vintage Purls. Full project details on Ravelry.

hand knit legwarmers made from handspun yarn

These legwarmers were actually done last month but it took this long to get the girl to pose for a picture. Now I have about fourteen of course. That’s first position there, in case you’ve forgotten your ballet steps.

Tags: , ,

« Older entries