metal

You are currently browsing articles tagged metal.

These are some of the things I made for the brown paper packages pay-it-forward. I tried to make something that would fit each person or something that we had in common. For some reason I ended up making jewelry for all three of these friends. Maybe because I like to make jewelry but I don’t actually wear it much myself. I have one left that is a little more difficult so I am taking my time.

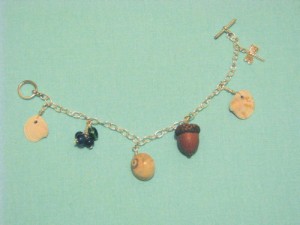
This one is a charm bracelet made for Peggie from Maine living in Texas. I put some shells gathered from Maine beaches, a real acorn, some blue beads that reminded me of blueberries and a silver dragonfly—some of my favorite things about summer in Maine.

Maine themed charm bracelet

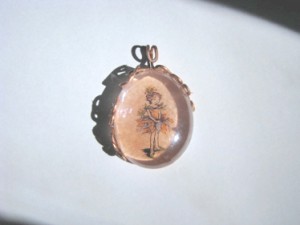
A rosy glass pebble backed with a handcolored print of a fairy sprite and embraced by curliqued copper wire went to Jen of Dahara Dreaming. I know she makes jewelry too but she also does pretty much every other craft I do as well!

glass pebble and copper wire pendant

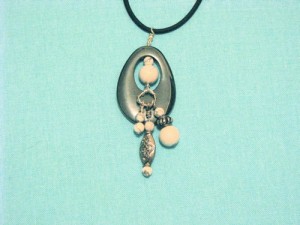
And this hematite and howlite pendant was made for Carla, a fellow member of a fabric co-op I’m in. I don’t know her as well so I thought I’d stick to something black and white. I originally made a similar necklace several years ago and was never pleased with it but I liked the combination of materials so I decided to try again. I was much happier with this version. The three sets of beads swing from a wire ring suspended in the middle of the hematite oval so the whole piece moves freely.

hematite oval and howlite beaded pendant

Tags: ,

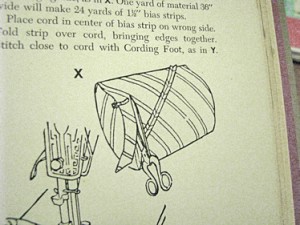
If you’ve ever made your own bias trim or piping, you’ll know that it is not the easiest task but produces a most rewarding and unique embellishment. My 1953 Singer Sewing Book makes reference to a bias cutting gauge made by Singer which could be clipped to your scissors to automatically cut the perfect width strips of fabric.

illustration of bias cutting gauge

Intrigued I searched the internet to see if I could purchase one of these handy gadgets. I found a vintage example for sale at a ridiculously high price. Karen of OneGirlCircus, found a modern version at a very reasonable price, but while quite adjustable, it seemed rather large in comparison and frankly, I was reluctant to pay the shipping to buy one item.

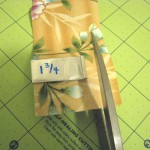
So, of course the next logical step (for me) was to attempt to make my own. The first version was quickly bent out of a leftover piece of metal flashing (that would be the kind that goes on your roof). Worked great, a little flimsy, not so attractive.

diy bias strip cutting guide/gauge handmade bias cutting guide

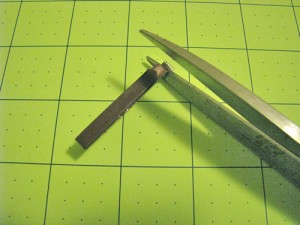
Version two was formed out of a flat bobby pin. Bingo, definitely a winner—slim, smooth and easy to use. Now just today I ran across a much better photo of a vintage version which shows how it was adjustable. I think with a little tinkering I can incorporate that into the next version. I’m not sure which excites me more, having this great new tool or the fact that I figured out how to make it myself!

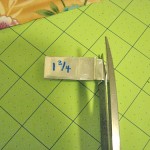
DIY bias cutting gauge
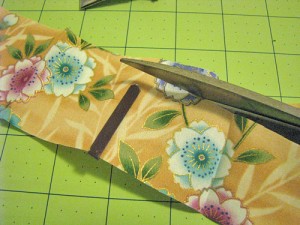
using the handmade bias cutting guide

Tags: , ,

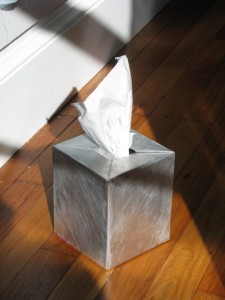
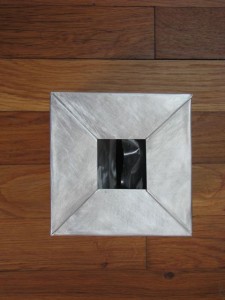
aluminum flashing tissue box cover "mitered" top of aluminum flashing tissue box cover
I actually made this about 5 years ago, maybe longer. But it’s been at my husband’s office all this time and I just brought it home so I thought I’d post a picture of it. I’m giving it a second life as a desktop wastebin. Why? When I am sewing I constantly create little trimmings of thread and tiny scraps of fabric. Even though there is a trash can right by my feet, they don’t seem to make it in there. So for years I have been using empty square tissue boxes to hold those scraps. Small enough to sit right on the desk, the plastic flaps that allow you to pull one tissue at a time also serve to keep in all those little scraps of thread and fabric if the box should tip over. When it’s completely full I can throw the whole box out or give the trimmings to the birds depending on the time of year.

Now how did I make it? I used aluminum flashing from the hardware store. I think you can get a package of ten small rectangles for a few dollars. I was able to score and cut them to size with regular household tools. I think I used some sort of all purpose thick glue to glue the pieces together. Apparently it worked well enough! I used steel wool to make the brushed texture. Inexpensive and easy modern/retro look for your tissue box!

Tags: