June 2010

You are currently browsing the monthly archive for June 2010.

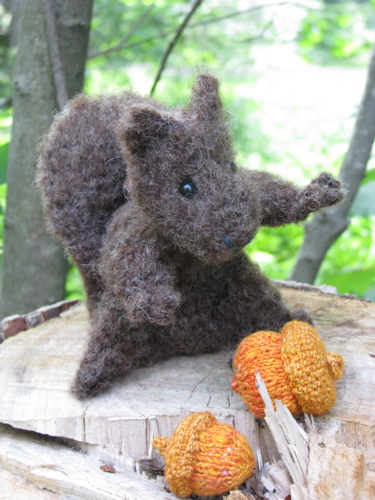
We like to watch the squirrels—playing outside, in a favorite movie UP, in a funny book, Scaredy Squirrel. The boy asked me to knit a squirrel for him. I was already aware of this cute pattern, Ultimate Squirrel, by Bri of RomanSock who designs the most adorable crocheted animals. They are realistic in a cute way. Since I have enjoyed reading her blog I thought it only fitting to buy her pattern. (Plug: Bri has a new book out, available on Amazon, called Super-Super Cute Crochet, filled with unusual animals.)

I used handspun brown wool approved of by the boy, two round black buttons dug out of the button jar by the boy, and one of my secret make-stuff supplies—those plastic covered wire twisties that keep all plastic toys in a stranglehold inside their plastic-windowed boxes. I’m not usually a fan of plastic but in this case, I like these weird things. (My mother covets them too.) They are far sturdier than craft pipe cleaners or the ordinary bread bag wire twisties. I did have a few problems with the pattern, probably mostly due to the fact that I am apparently incapable of counting higher than 4. There could have been more direction on the stuffing and sewing but I would probably have done it my own way anyway so not a problem for me. The hardest part was the brushing technique since all I had to use was the giant wool carders! I’m sure a dog brush would work much better.

brushed crochet squirrel amigurumi and knit and crocheted acorns

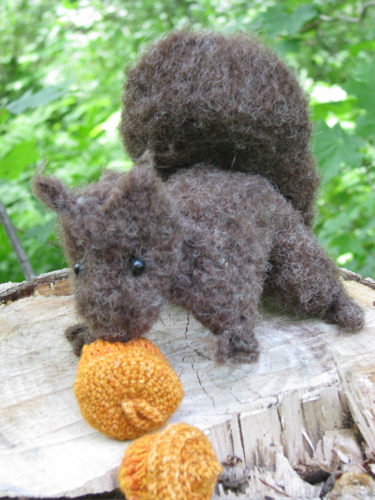
The boy checked on my progress daily and was delighted with the final outcome. Here is his very own crocheted squirrel with some acorns I made months ago, fittingly inspired by another RomanSock pattern, a much larger acorn bag. My acorns are a combination of knit and crochet using some very early hand dyed and spun yarns. And yes, I will be making this pattern again, little sister is not pleased that she did not get a squirrel too. I may make her a chipmunk just for variety.

brushed crochet squirrel using RomanSock's pattern for Ultimate Squirrel

Nom, nom, nom, nom.

Tags: , , ,

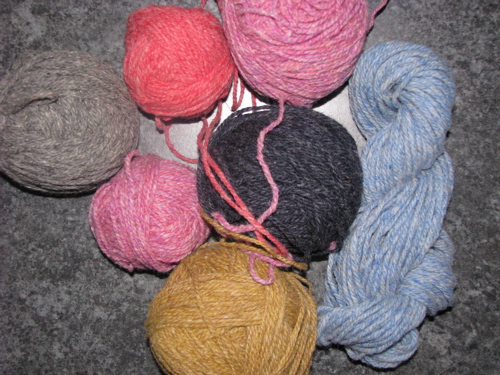
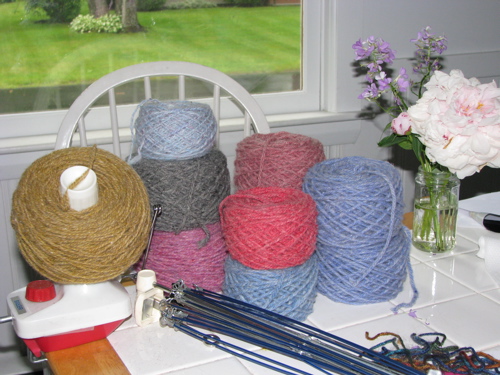
We’ve had several rainy days in the last week. While the girl does enjoy a good puddle walk, our time outside was still cut down considerably. One of our projects was to wash some rather old and musty random balls of yarn I was given. A burn test and the presence of bits of VM (vegetable matter) confirmed the yarn was indeed wool. And therefore worth the time to skein, wash, dry and rewind. I think it was about nine cakes in the end. Some pinks, some blues and some neutrals, all about worsted weight. I have a sweater in mind for the boy that I think I can eek out if I combine the blues and greys. I should probably start on something for the girl first however since she did patiently help with as much of the process as she could.

Before:
miscellaneous balls of wool yarn

During:
skeining yarn on a yarn swift washing wool yarn skeins of wool yarn drying

and after:
cakes of wool yarn wound on a ball winder

Oops, a ball of handspun crept into that last photo. That IKEA folding towel rod thingy is not so great for hanging towels but it makes a great rack for drying skeins of wool!

Tags: ,

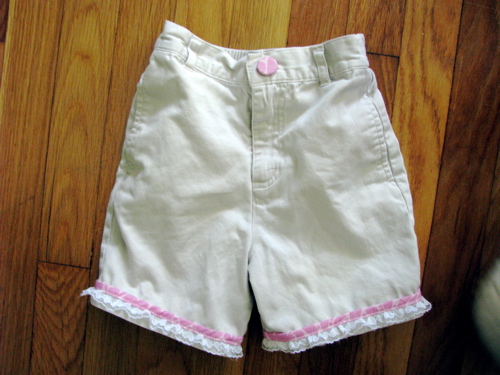
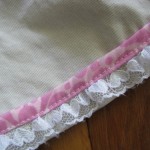
These shorts began life as standard storebought khaki pants for the boy, at some point got cut off into shorts and today got a little girlifying with some graphic pink floral print scraps and some rather scratchy polyester “lace”. I’m fairly certain the fabric is a Jane Sassaman design but I couldn’t identify it positively. I also switched out the old plain buttons for covered buttons using the same pink print.

boys khaki shorts trimmed in pink fabric and lace for a girl

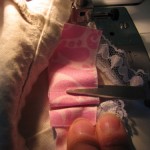
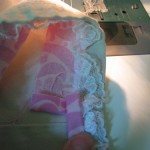
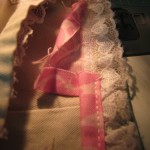
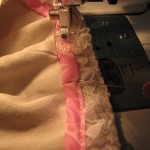
After I did the first side I decided to take pictures so here’s a quick tutorial. For the fabric trim you can use purchased bias trim, or handcut bias or straight grain fabric as I did. I cut mine about one inch wide and a little longer than the distance around the hem of the shorts leg. Cut the lace to the same length. First turn your shorts inside out so you can work on the right side of the fabric more easily. I prefer to offset the seam of the trim a little towards the rear to eliminate extra bulk at the inseam.

Step 1: Lay the fabric strip face down with the top edge of the lace overlapping the width of your zigzag stitch. Pin as desired. Skipping the first centimeter, zigzag down the overlap until you are nearly back around to the beginning. Trim your fabric and lace to fit under the beginning with a little extra to fold over. Fold the fabric end up but underneath the beginning flap. Fold the lace ends at a right angle with the short ends underneath or towards the right side of the shorts, trimming if necessary. Finish zigzagging.

shorts trim tutorial by random-charm 1/9 shorts trim tutorial by random-charm 2/9 shorts trim tutorial by random-charm 3/9

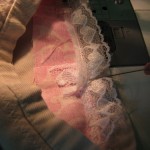
Step 2:
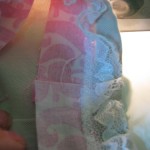
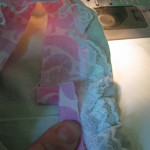
Fold the left edge of the fabric to meet the edge of the trim and finger press. (Or iron if you prefer.) Then finger press again to conceal the zigzag stitching. (I finger press a little at a time as I stitch.) Topstitch the open edge slowly. When you get to the end you will reach the folded end of the fabric trim. You can sew that little space shut if you choose but I didn’t bother. Your fabric and lace trim is now secure. You may add a decorative line of topstitching to the top edge of the fabric trim if you like.

shorts trim tutorial by random-charm 4/9 shorts trim tutorial by random-charm 5/9 shorts trim tutorial by random-charm 6/9

shorts trim tutorial by random-charm 7/9 shorts trim tutorial by random-charm 8/9 shorts trim tutorial by random-charm 9/9

And the finished shorts modeled rather reluctantly by the girl. Don’t let the grin fool you, her contrariness is barely concealed by her choice of the most unpink shirt she owns. After I took the picture she insisted on wearing the shorts backwards for the rest of the day.

IMG_8083

P.S. Isn’t she getting tall?? I’m telling myself it’s just the picture but . . . the camera doesn’t lie, does it?

Tags: , ,

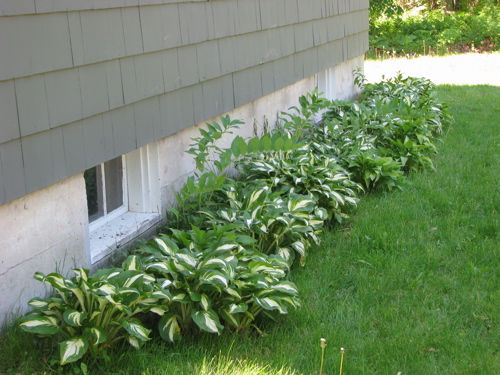
I don’t have a lot of pictures to show for it just yet but I’ve been spending a lot of time bent over a shovel out in the yard. I’m going to share with you the best gardening tip ever, received from my mother, who doesn’t think she’s creative. Divide hostas using a cordless saw. Now if that’s not creative thinking, what is??

dividing hostas with a cordless reciprocating saw

Of course I didn’t have the foresight to strip the sod out of the desired planting area beforehand. When the kids (my two and one of the neighbor’s) asked to help plant the chunks of hosta I just had to dig the holes as fast as I could and let them plunk the hostas into the ground. I also received some Solomon’s seal from a freecycler and put those in behind, also some upright phlox which I hope will flower white. I do plan on removing the rest of the sod and filling in with some lily of the valley that are not happy in their current location, and perhaps some white tulips and then a really short groundcover if necessary. Maybe just mulch. Anyway, the north end of the house, once bare, is now beginning to take on my vision of a green and white shade garden.

hostas and solomon's seal

Tags:

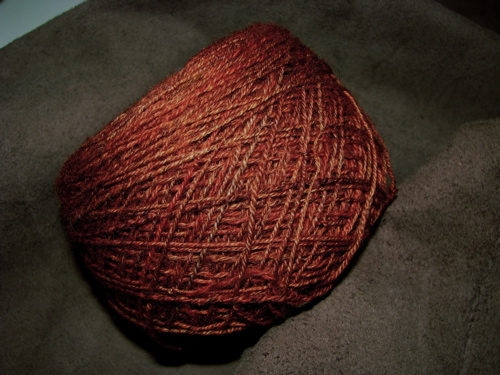
Months ago I spun and dyed some oatmeal BFL for myself. Three ply light fingering for socks dyed a variegated spiced pumpkin color.

three ply light fingering handspun from blue faced leicester top

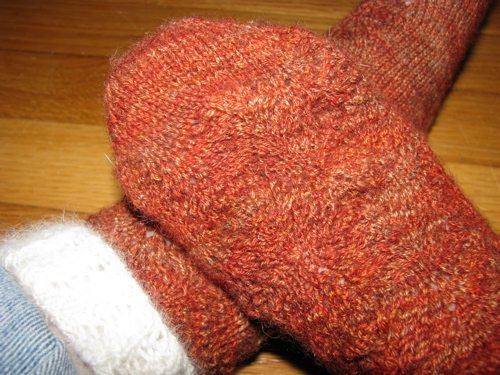
I was quite pleased with the yarn so it took me ages to pick a sock pattern out. Even though I already knew that these would not be the last socks I’d be knitting. I finally picked a pretty pattern called Irish Ale Socks, by RedScot. Now I couldn’t be smart and just follow the pattern of course. I decided to do them upside down, or toe up. Why do I like toe up? Probably because I prefer to do the hard parts first, i.e. the toe and the heel. And when you are using handspun, you’d rather get the important parts done so you can know you have enough yarn to finish rather than run out around the ball of the foot or whatever. Much easier to adjust the length in the leg if necessary. In this case I probably have enough to produce a third sock! Lots of details of my woes in crafting the short row heels with gussets on my Ravelry project page. They are certainly not perfect but I’m pretty pleased with them and they are on my feet right now. That’s handspun angora for the cuffs. Thank you Maine for cold and wet weather in June, perfect for wearing my handknit socks with clogs.

hand knit socks made from hand dyed and spun wool and angora

Tags: ,