This is the second in a series intended to show the steps from fiber to finished item. See the first here.
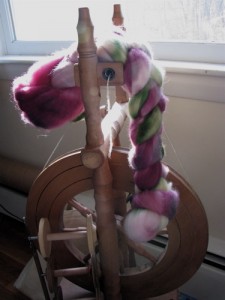
The fiber: a 4oz braid of handpainted merino in colorway Rocky Mountain High from Spunky Eclectic. As purchased and unrolled from the braid.
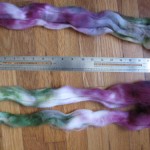
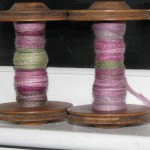
singles: I pulled 1oz. off the top and then split it into four lengthwise. I arranged the pieces so that I would spin two singles with roughly the same color repeats. I then plied them together.
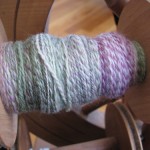
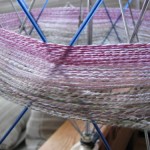
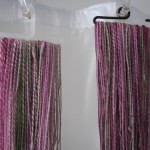
plies: After plying, I transferred the yarn from the bobbin to the yarn swift. You can see the color shifts very well. Then the skein is washed and hung to dry to set the ply. If the twist is done evenly then the plied yarn should hang fairly straight. On the left is the yarn above and on the right is the same fiber spun at a thinner weight.
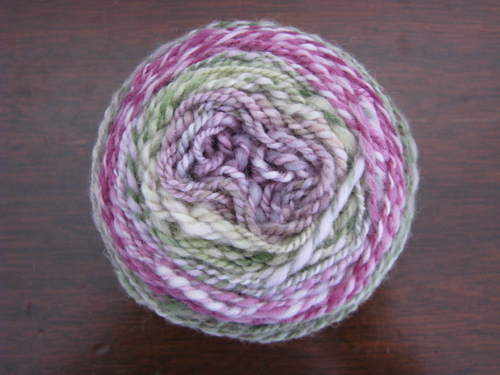
finished yarn: ready to knit or crochet
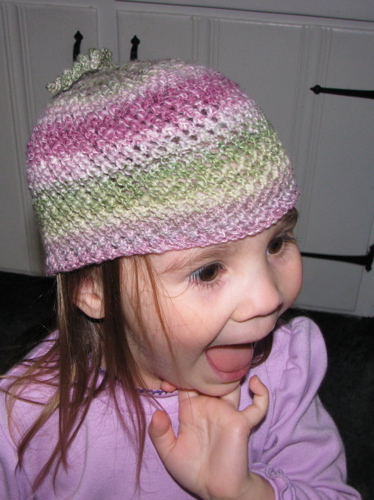
project: I chose to knit a hat for the girl with this yarn. I looked for a simple pattern that would have texture but still show off the color gradations in the yarn. I couldn’t find what I wanted so I ended up making up my own pattern. I had intended to finish with a crochet border that would make the hat about an inch longer but forgot to take into account that the textured stitch I used ate up yardage faster than a simpler stockinette would so I ran out of yarn. It fits okay . . . I’m still thinking about what to do.
stitch: The stitch I used must have a name but I couldn’t find anything like it so if you know what it is called please tell me! It’s so simple and fast and a little girly without being too delicate. (The following instructions will only work in the round. A bit of adjustment would be needed to work it flat as the stitch pattern causes the starting point to shift.)
Row 1: Knit
Row 2: *K2togTB, YO* repeat
Repeat rows 1 and 2. Way simple.
See even more ramblings on this hat in my Ravelry projects.
Comments are now closed.

1 comment